Yanfly Engine Plugins is a plugin library made for RPG Maker MV, a wonderful piece of software to help you make that role playing game of your dreams. You can find out more about RPG Maker MV here.
You can grab the plugin here:
English Mirror
This plugin creates a system where your player can change classes through the main menu allowing for more customization!
NOTE: If you are using the Class Change Core and are wondering why skills from other classes are appearing in other classes, it is because you are using the same skill type. This is an intended function. The same way if you were to NOT use the Class Change Core plugin and use RPG Maker MV’s default class changing event, any skills acquired from the class you changed from will remain in the character even after changing. That is just how it works and I have no plans on changing that. If you wish to distinguish your skills to certain classes, then make different skill types for those classes and set those skills to those new skill types.
Add Ons
- Fox’s JP Levels – This Plugin adds levels to the Yanfly’s JobPoint System, like Final Fantasy Tactics had. It allows for restrictions on what skills your allowed to buy with the SkillLearnSystem based on the current classes’ Job Level. It allows for restrictions on what class your allowed to equip with the ClassChangeCore based on the current classes’ Job Level. The Job automatically gains levels just by gaining JobPoints.
Introduction
This plugin adds the ability for your player to freely change the classes of actors outside of battle from a menu. When changing classes, this script gives the option for the developer to choose whether or not classes have their own levels (causing the actor’s level to reset back to the class’s level) or to maintain the current level.
Notetags
The following are some notetags you can use with the Class Change Core plugin.
Actor Notetags:
<Unlock Class: x>
<Unlock Class: x, x, x>
<Unlock Class: x to y>
This actor will have class(es) x unlocked at the start of the game in addition to its current class and access to any of the global classes.
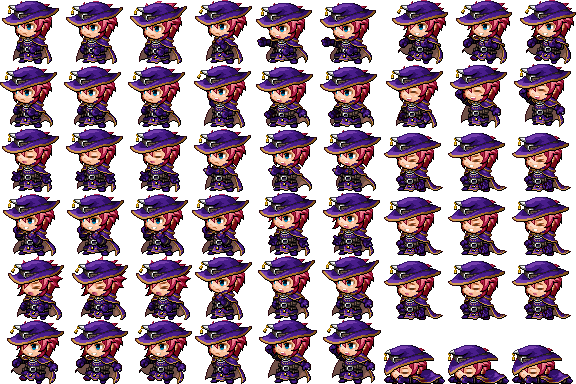
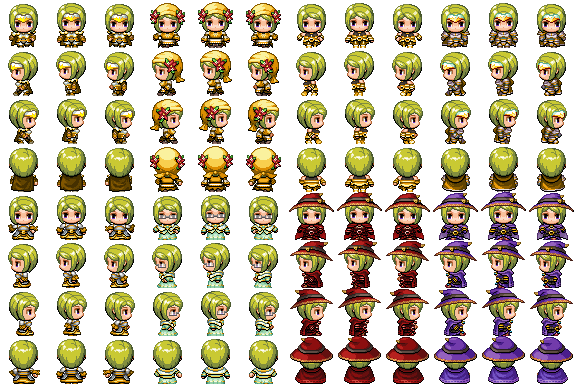
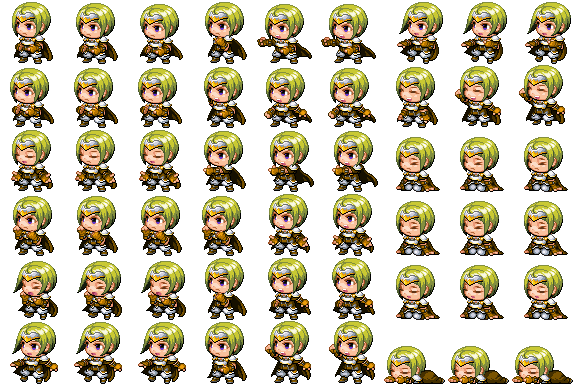
<Class x Character: filename y>
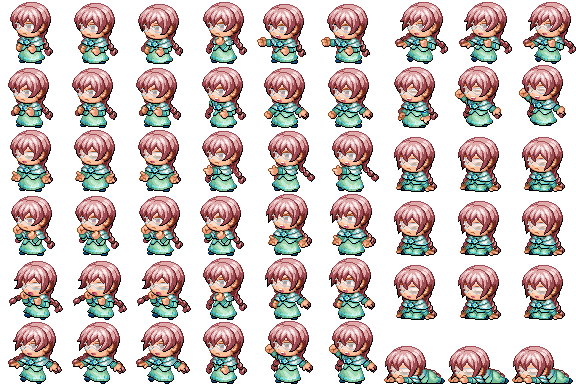
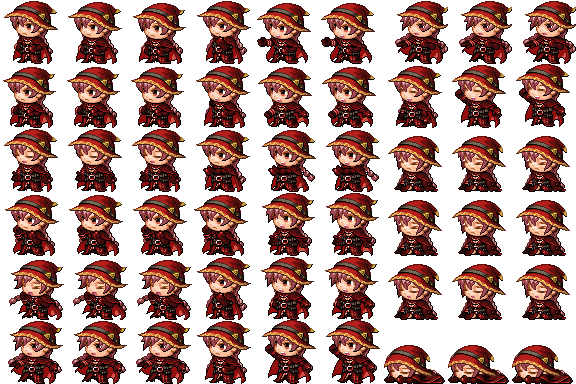
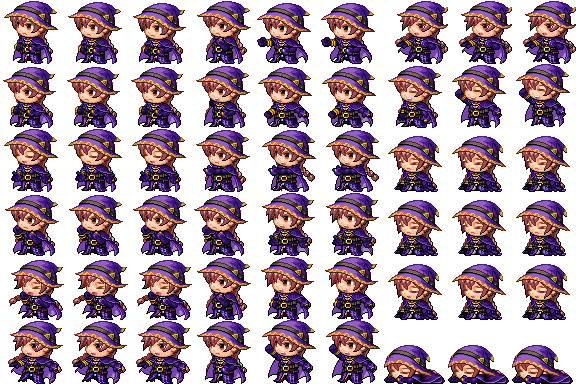
When this actor’s class is x, the actor’s character sprite will become ‘filename’ and index y on the fieldmap.
<Hero Character: filename y>
<Warrior Character: filename y>
If you prefer to use class names instead of the class ID, use the above format. When this actor is this class, the actor’s character sprite will become ‘filename’ and index y on the fieldmap.
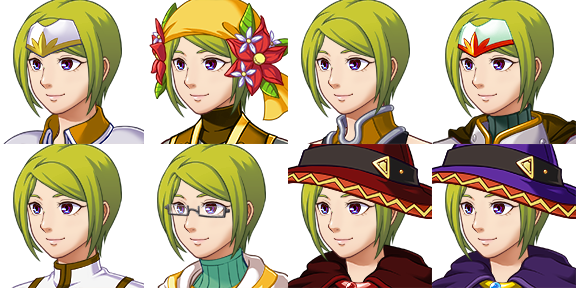
<Class x Face: filename y>
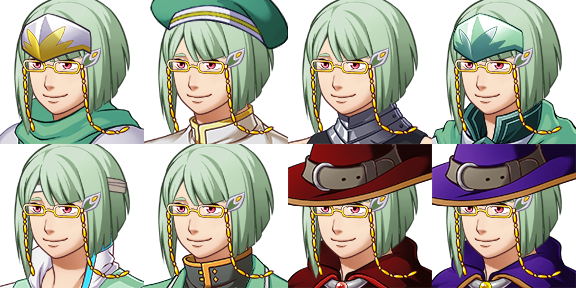
When this actor’s class is x, the actor’s face graphic will become ‘filename’ and index y for menus.
<Hero Face: filename y>
<Warrior Face: filename y>
If you prefer to use class names instead of the class ID, use the above format. When this actor is this class, the actor’s face graphic will become ‘filename’ and index y for menus.
<Class x Battler: filename>
When this actor’s class is x, the actor’s battler sprite will become ‘filename’ in battle.
<Hero Battler: filename>
<Warrior Battler: filename>
If you prefer to use class names instead of the class ID, use the above format. When this actor is this class, the actor’s battler sprite will become ‘filename’ in battle.
Class Notetags:
<Icon: x>
Sets the icon for this class to x. This icon is used in the Class Change menu listing.
<Help Description>
Text
Text
</Help Description>
Sets the help description for the class to the specified text.
<Level Unlock Requirements>
Class x: Level y
Class x: Level y
</Level Unlock Requirements>
Sets the requirements for unlocking that particular class. The unlocking of the class will require classes x to be at level y. Insert multiple of the strings in between the two opening and closing notetags to require all of the class levels to be met.
<Level Unlock Requirements>
Hero: Level y
Warrior: Level y
</Level Unlock Requirements>
If you prefer to use class names instead of the class ID, use the above format. This will set the level requirement for the mentioned class to y. If there are multiple classes with the same name, the class with the highest ID value will be taken.
Plugin Commands
Included in this plugin are multiple Plugin Commands to help assist you with class changing for your game.
Plugin Command
OpenClass
This opens the class changing scene.
ShowClass
This shows the Class option from the main menu.
HideClass
This hides the Class option from the main menu.
EnableClass
This makes the Class option enabled.
DisableClass
This makes the Class option disabled.
UnlockClass 5 6
This allows Actor 5 to unlock Class 6.
RemoveClass 5 7
This causes Actor 5 to no longer access Class 7.
UnlockClassAll 8
This unlocks Class 8 for the global pool.
RemoveClassAll 9
This removes Class 9 from the global pool.
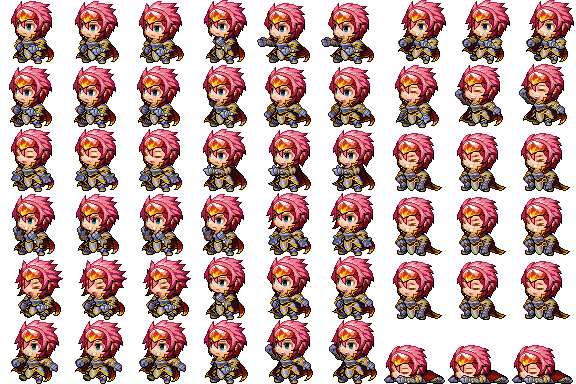
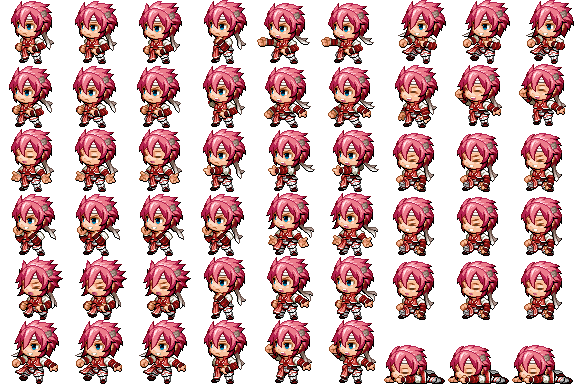
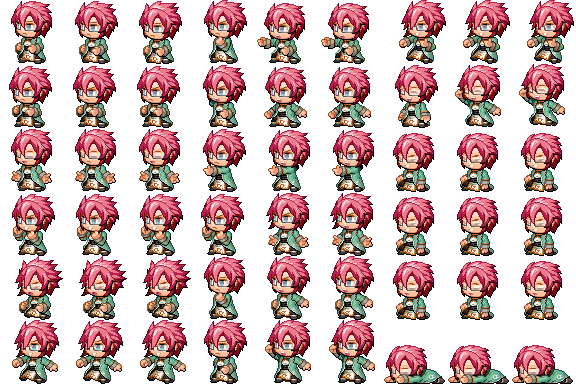
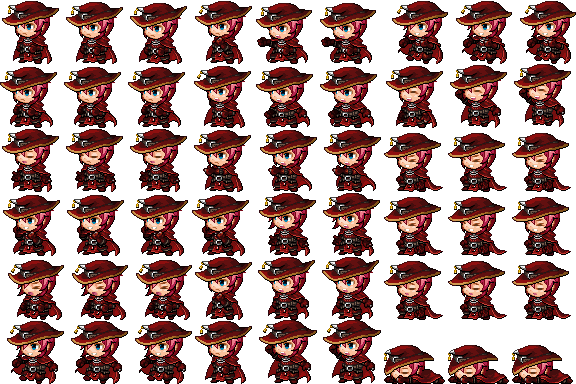
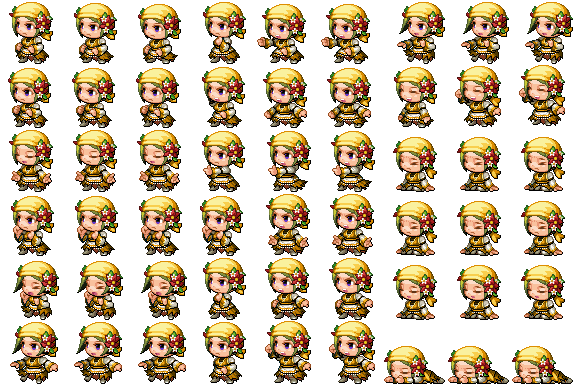
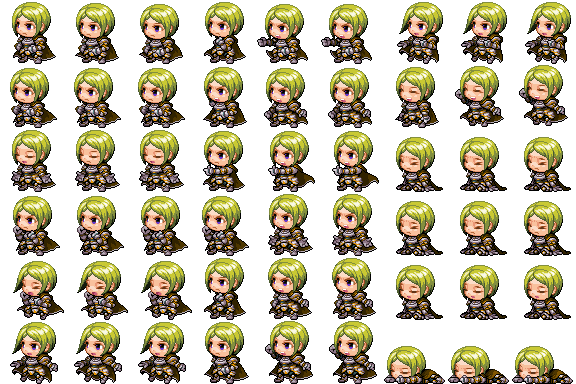
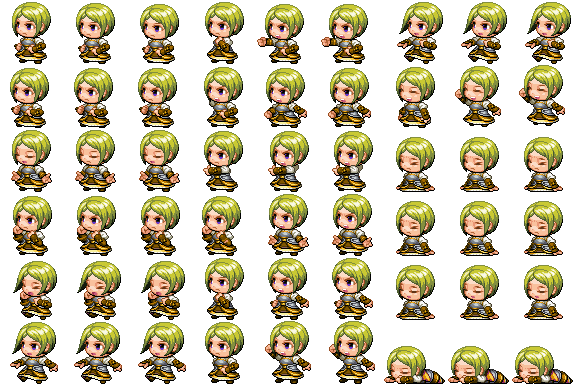
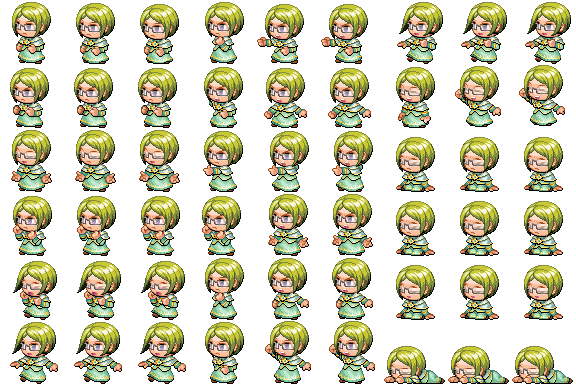
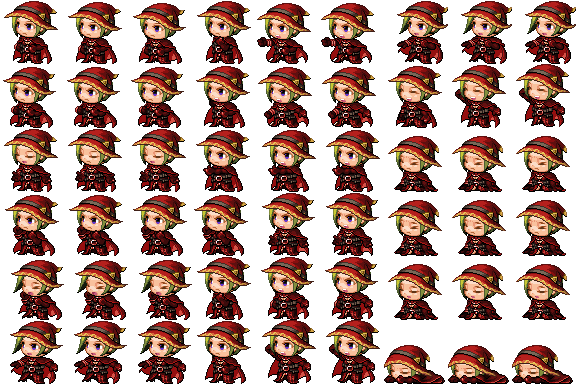
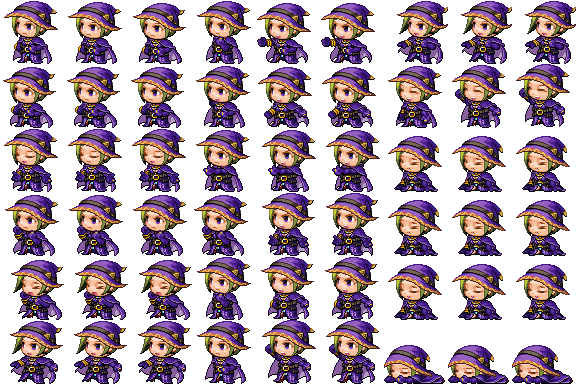
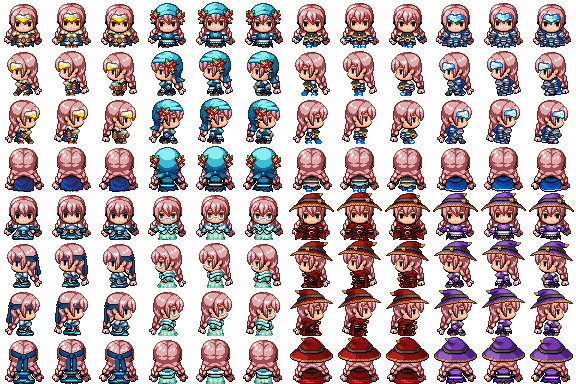
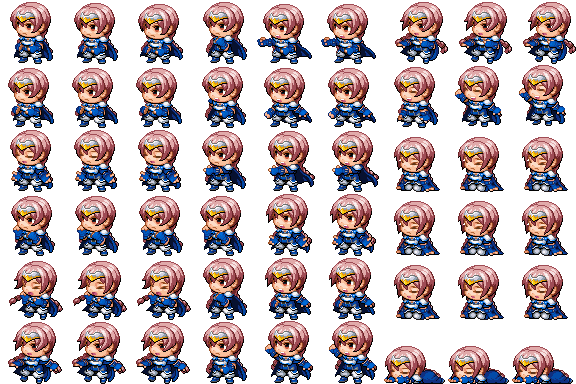
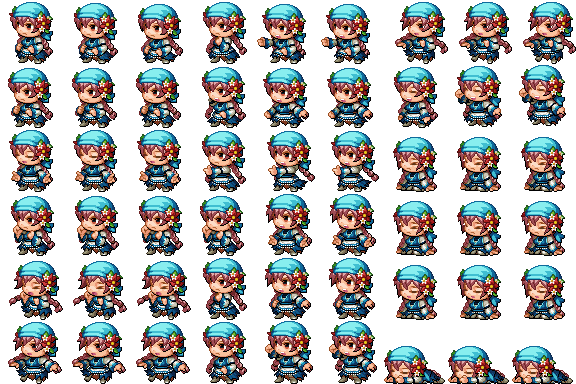
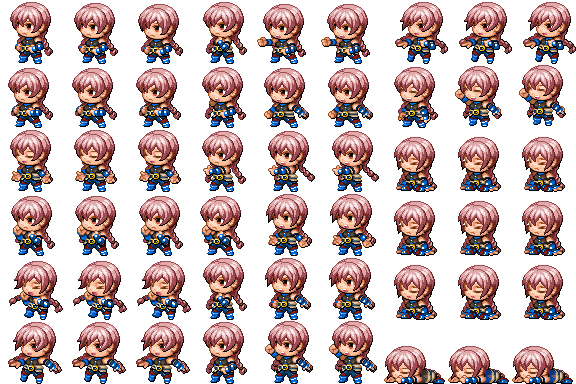
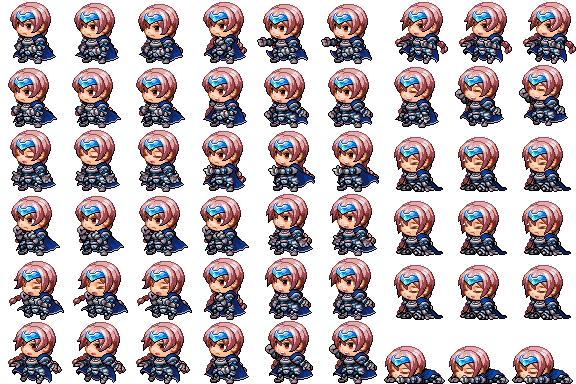
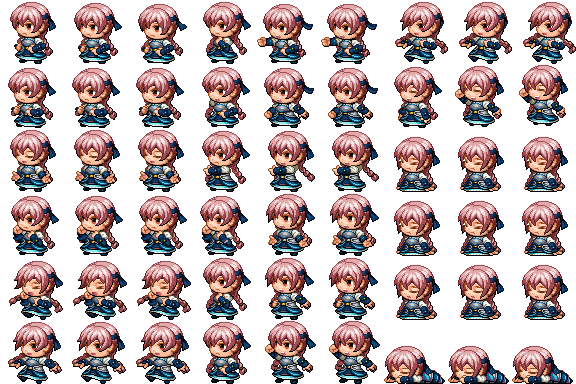
Also, as some goodies, I’ve uploaded the images I’ve used to make those custom appearances for those who want the class images for Harold and co.
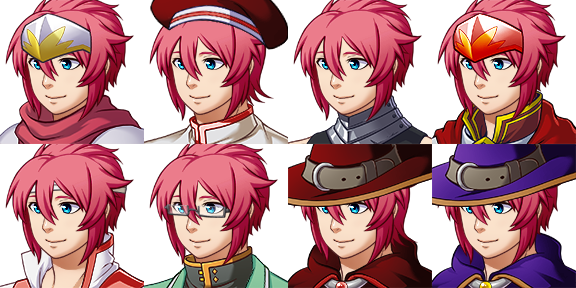
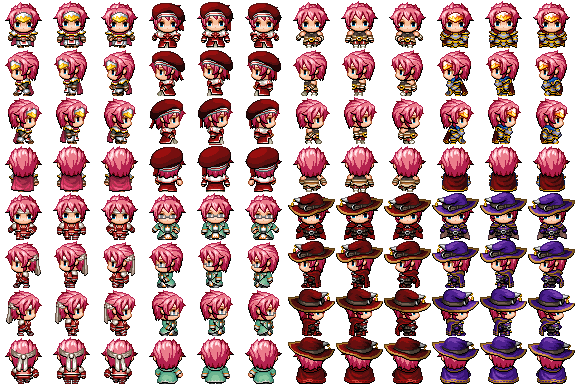

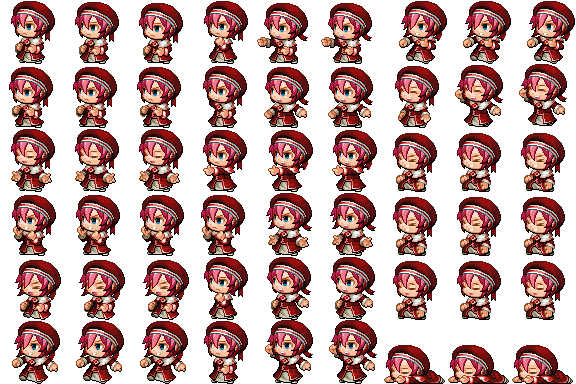
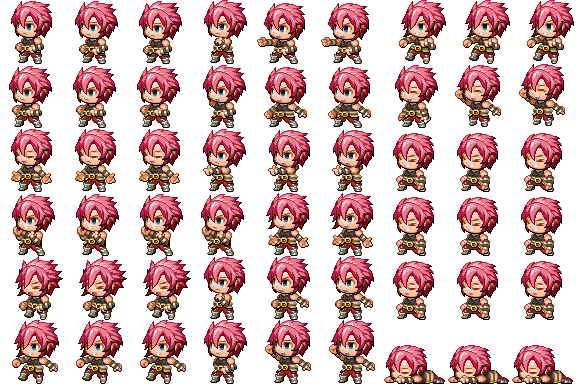


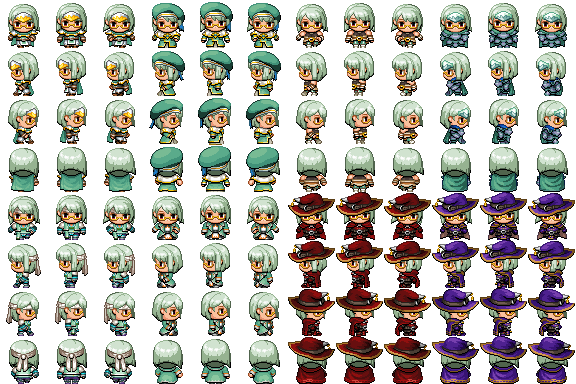
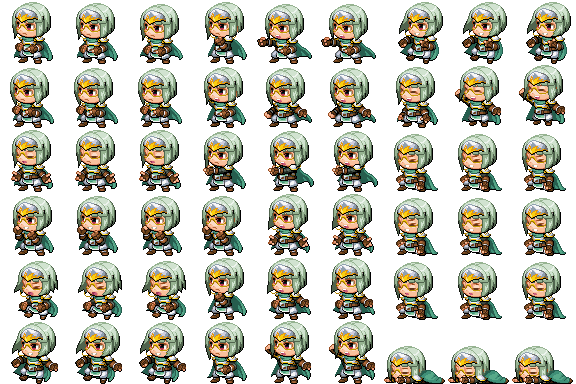
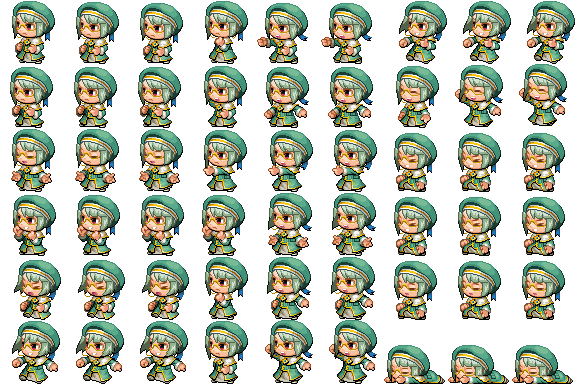
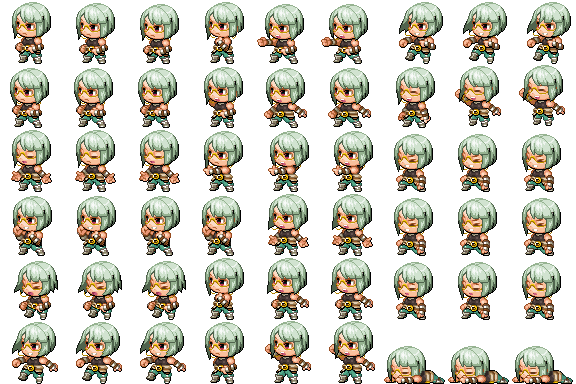

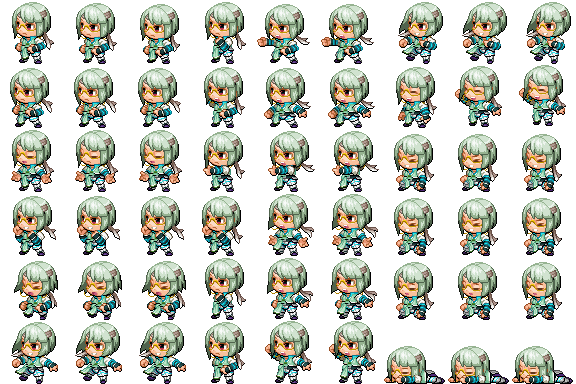
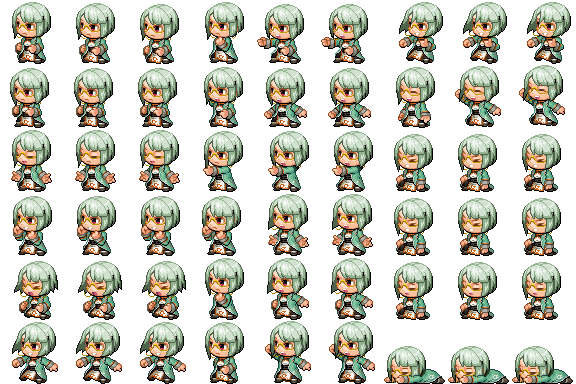
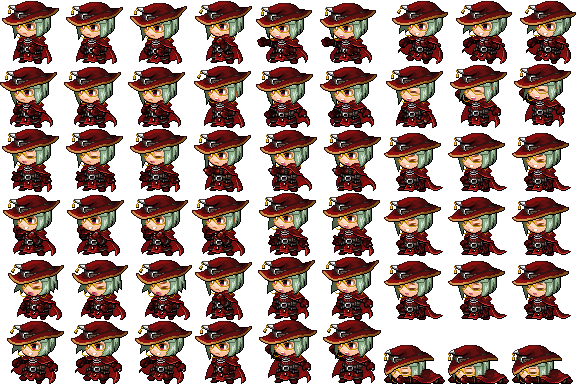
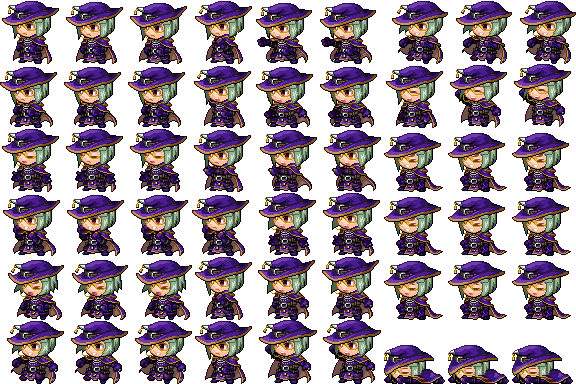
Happy RPG Making!
Please wait while you are redirected...or Click Here if you do not want to wait.